Stick Lettering Along Contour
<See also True-Type Lettering Along Contour.>
With Stick Lettering Along Contour, text is oriented along a programmed contour, which determines the size and orientation. The contour is grouped with the data block and programmed like the contours in a 3D mold or Swept Surface data block.
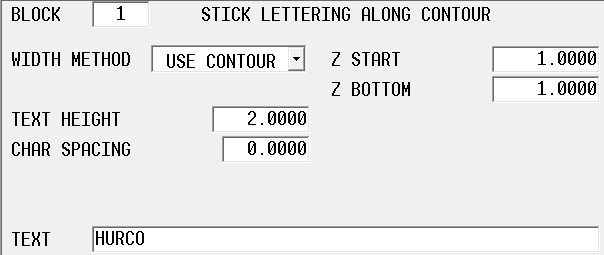
The opening screen is the lettering parameters screen. The text dimensions and spacing are set in this screen. First, specify how the width of the text is determined, in the Width Method field:
-
Use Contour—the text will be distributed evenly along the contour.
-
Specify Width—specify the width measurement in the Text Width field (appears when Specify Width is selected).

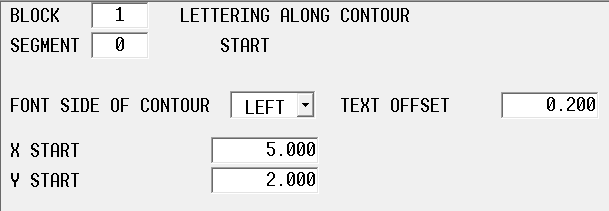
Use Edit Along Contour softkey to open the Start segment:

The contour start segment includes fields to specify which side of the contour the text is positioned relative to. The text offset specifies distance between the contour and the reference point of the text.
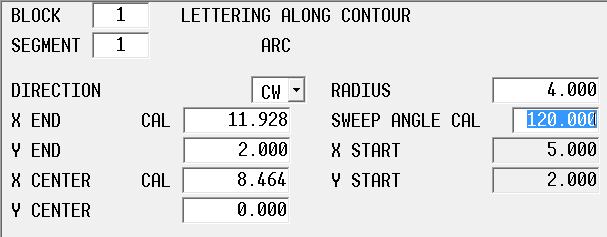
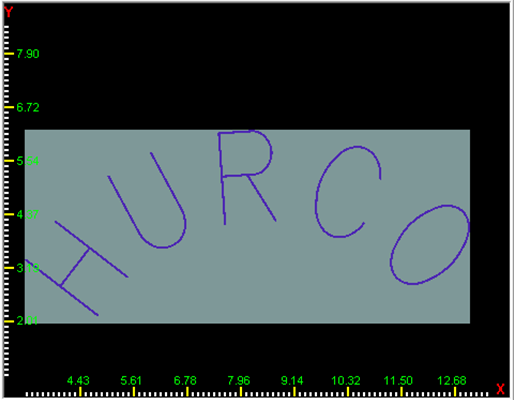
Select the Next Segment softkey to lay the text out on a line, arc, and/or blend arc. Here is an example with a single arc segment:

|
|
A contour can also be created by pasting an existing contour into the program, using Multiple Block Functions on the Program Review screen. |

Recovery Restart is supported from a specific letter, specified as character number. For example, to restart from the “R” in HURCO, you would specify character 3 as the starting character. Recovery Restart is launched from the Auto mode screen.
The Field Name Glossary contains definitions of all WinMax fields. The fields listed below appear on the Stick Lettering Along Contour screen. Fields displayed on screen may vary according to machine type, configuration, parameter settings, and/or settings in other fields.
|
|
|||
|
|